alright, so here is the tutorial for my go-to quilt. just after snapping the first photo, yesterday became, what seemed like, the darkest day of the year. . . so the lighting is bad, but i think you'll get the gist of what i'm saying all the same. . .
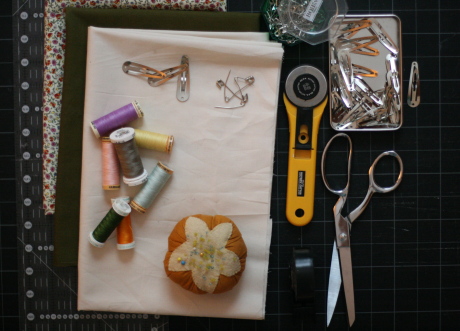
materials:
fabric. 100% cotton. two solids for front and back. third fabric for binding, can be patterned or solid, you choose. the beauty of this quilt really lies in its simplicity and flexibility.
batting. i only use 100% cotton, mid or thinnest loft.
thread. lots of thread in as many (or as few) colors as you choose.
tools. rotary cutter, cutting mat, masking tape, quilting pins, binding clips.
first. cut fabric to desired sizes. for a quilt size guide, see here. depending on the size of the quilt, you may need to do some piecing. be sure to leave batting just bigger than front and back pieces.
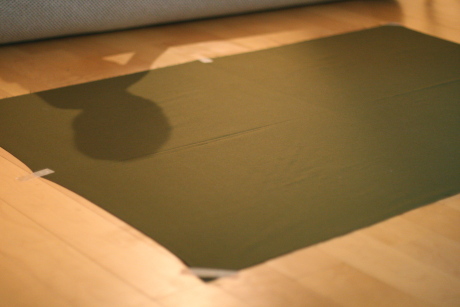
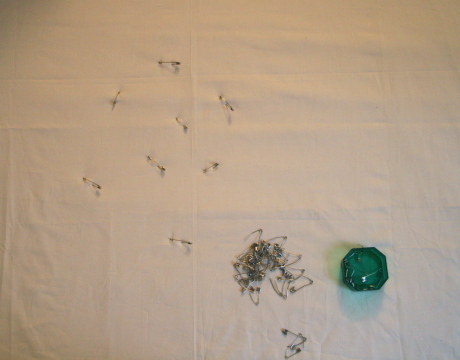
second. baste the quilt. very important to do a good job basting so there is no unfortunate pinching or clumping of fabric while quilting it on the machine. usually best to do this while kids are in bed since their little feet cannot resist dancing (or crawling) on large pieces of fabric stretched on the floor. begin by taping the backing to the floor as taut as possible. don't be afraid to pull. gently lay and smooth batting over taped layer. follow with "front" of quilt. smooth out and get fabric as flat as possible. starting in the center, use quilting pins (essentially safety pins with a bent arm) to secure the the three layers together. work your way out in a circle, smoothing and flattening the "quilt sandwich" as you go. the fabric should be totally smooth. be sure to go all the way to the edges.
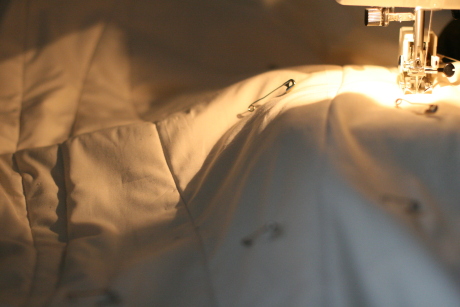
third. machine quilt. the fun and most time consuming part. with a walking foot on your machine, begin the quilting at one edge of your quilt. (quilt "parallel" to the shorter side, easier to manage). quilt at very a slight diagonal. removing basting pins as you go (don't sew over them, or let your daughter take control of the pedal for you while she also watches a show about mermaids. . . you'll regret it). when you reach the opposite edge of the quilt (going beyond edge of fabric, into the batting a bit) lift presser foot but keep needle in "down" position. rotate the blanket and quilt to the opposite edge at a slight angle once again. repeat until you quilted the length of the quilt. your quilt will look something like this:
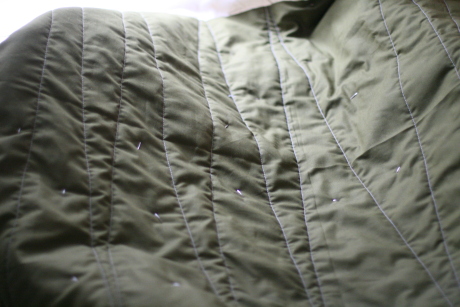
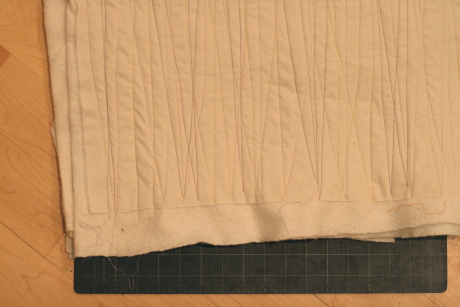
switching out thread colors (or keeping the same) repeat entire process again and again and again until you are satisfied with the amount of quilting. this uses a lot of thread but looks really great. just be sure to go slowly, feed quilt through at an even pace and watch that the fabric doesn't get gathered or bunched while quilting. the walking foot helps a ton with this, as does proper basting, but keep watch just in case. if some of your lines aren't perfect, don't worry, the other quilting lines will distract, and washing and drying does wonders for covering up small mistakes.
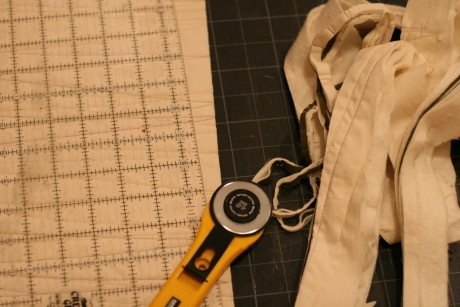
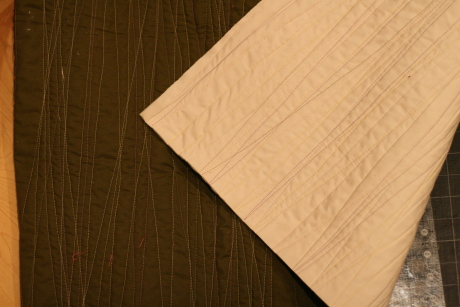
fourth. trim quilt. to get ready for binding, the quilt sandwich needs to be "squared" and trimmed. i like to trim two sides at once, folding it in half before evening it up and trimming. clear ruler and rotary cutter. check that all layers go to the very edge after trimming.
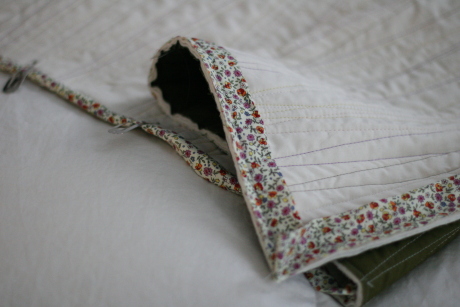
fifth. bind quilt. i use the "double fold mitered corner" binding method. the same method taught in denyse schmidt quilts book and that was taught at my quilting class at purl. i love this method, and it deserves it's own tutorial. luckily, there are a few out there. hand stitching the binding is ideal, but if you are short on time, go ahead and use your machine to stitch the binding down. don't feel bad, it will still look great. (especially in the light of a much brighter day).
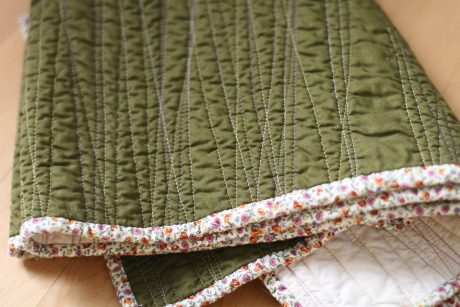
sixth. after binding and trimming all loose threads, throw your quilt into the washer and dryer. pull it out, admire it, wrap it for a gift or wrap yourself up inside. feel great. you just made a quilt, and it's modern and cool and probably took you less than 10 hours.
 Thursday, February 5, 2009 at 10:20PM |
  19 Comments |
